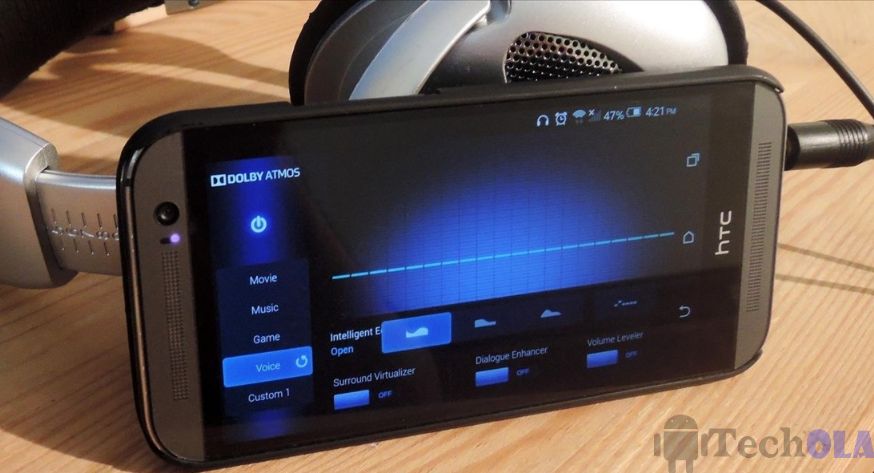
If you’re looking forward to install Dolby atmos on android’s guide then you shouldn’t worry since in this article you’ll know each and every step in here. As far as relishing music whilst free time or watching movie is concerned we all do this. But what if this relishing experience can be enhanced by installing dolby atmos on your android phones. And if you don’t know then it must be an exciting news for android users then now they can install dolby atmos on android too, with or without rooting.
What is Dolby Atmos?
Dolby atmos is a wonderful surround sound technology, Dolby laboratories introduced it in April 2012, and released in June 2012. It was first introduced in cinemas and later it became possible to have it on one’s smart phones and other android devices too. Famous movies like Batman vs. Superman and Star wars used dolby digital atmos surround sound. Dolby surrounded cinemas comprise up to 64 speakers being placed in various directions to create 3d surround sound effect. Lenovo A7000 was the first Smartphone to get dolby atmos technology and eventually android developers ported dolby atmos from Lenovo A7000 to provide it to other android devices.

How to install Dolby Atmos on Android guide?!
At the present time few devices come with preinstalled dolby atmos. There are two ways to install dolby atmos on android phones, first way doesn’t require a rooted phone whereas second way might require a rooted phone. If you don’t own a rooted phone then you can easily download dolby atmos after installing dolby apk. And if you own a rooted phone then download dolby atmos on android through a zip file.
Method 1 (Without Root) Dolby atmos for android
Requirements to install:
- Android Phone
- Google play music app
- Dolby Atmos Apk
If you aren’t interested in rooting your phone but still want to cherish 3d surround sound and pleasant listening experience then it’s no big deal. Download dolby atmos apk and do some modifications in settings:
Steps to install dolby atmos on android phone without root
Step 1: Before installing Dolby atmos apk make sure you enable the unknown resources installation option from settings.
Step 2: Reboot your phone after installation and don’t open the application yet since there are more steps you need to follow.
Step 3: Install Google play music app, because only it will work not Spotify.
Step 4: Disable default equalizer of your android, and we do this to avoid unfortunately stopped error. One can either find it in settings or Google play music.
Step 5: Open Google play music app and click on three horizontal lines.
Step 6: Click on the settings in play music’s navigation and then scroll down.
Step 7: Navigate to the equalizer and then enable and open dolby atmos. Mostly it will be activated automatically.
Step 8: Now go to the music library and play whichever song you want to listen. And here is your app installed; enjoy this experience with earphones on!
How to install Dolby atmos on android with Root?!
- Rooted phone must be running on jellybean 4.3 or above.
- Unlocked Bootloader
- Custom Recovery installed
- Dolby Atmos Zip file
- Appropriate knowledge of above all
And you gotta do this all to achieve better listening feels! We need to enable digital audio mod in our phone’s ROM. If you are unaware of Rooting or custom recoveries then please avoid it.
Step 1: Download dolby atmos zip file on your phone and the zip file is only meant for rooted devices with custom recovery installed.
Step 2: Don’t forget to back-up your data because if anything goes wrong you can always retrieve your data.
Step 3: Now power-off the device and reboot to recovery mode by holding power button with volume up or down at the same time. And it also depends on the device.
Step 4: Navigate to install and then click on it, located on top of all buttons in TWRP recovery.
Step 5: Now locate and click on dolby atmos zip file, and you can find it in the folder where you have downloaded it. For UC browser it will be found in UC downloads and for chrome browser it will be in download’s folder.
Step 6: Now it will ask for downloading. Hold the big circle in the left corner and swipe it to the right side.
Step 7: Wait for few seconds and a pop up will show you successfully installed.
Step 8: After this wipe cache and dalvik cache. No need to wipe data or internal storage of the device. If error occurs then clear data too.
Step 9: Reboot your device and relish the immensely good sound.
Step 10: Now it’s up to you to make sound adjustments in ought to have good bass and clarity, optimization is needed until you get the desired sound.
Finally you installed dolby Atmos apk
Follow the above steps and enjoy best quality sound and don’t forget to use good headphones which will certainly enhance the dolby atmos surround sound experience. Happy listening!


